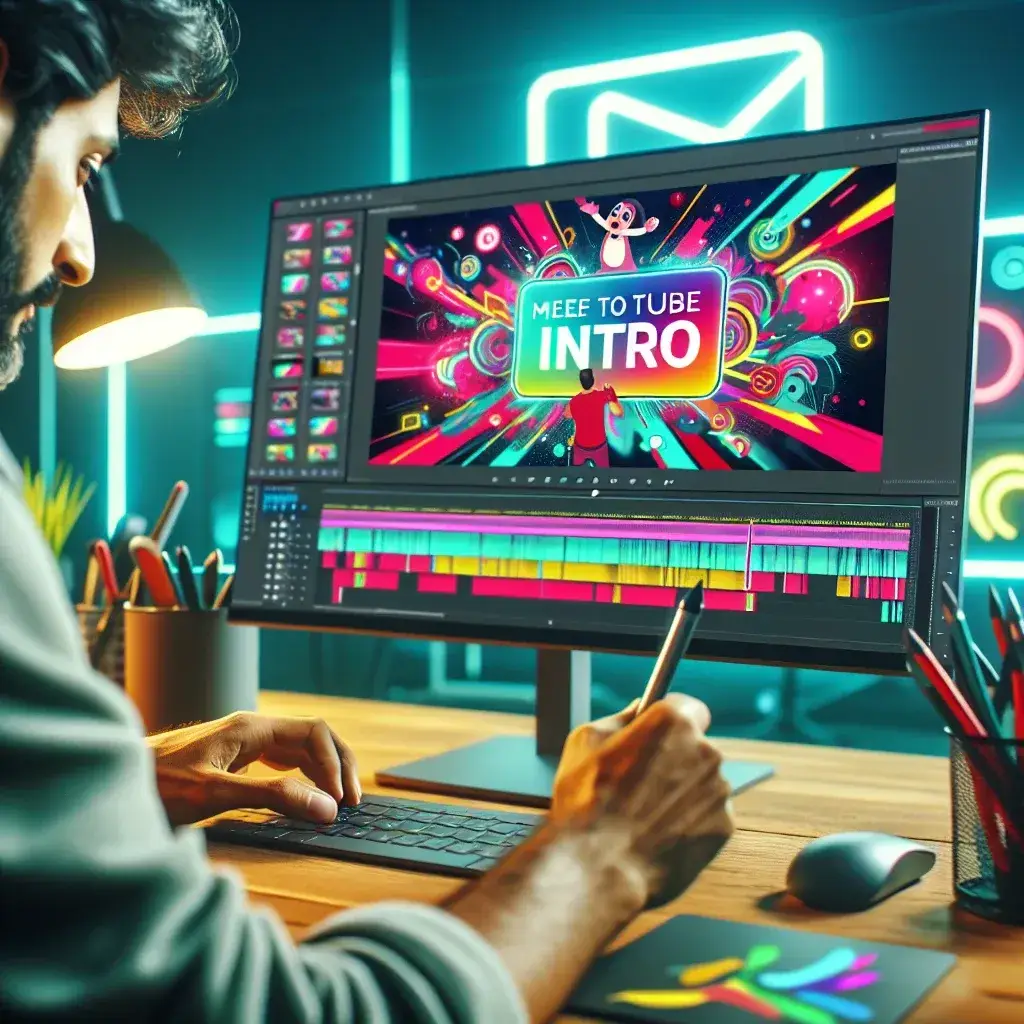
Creating Engaging Animated Intros for YouTube Using CapCut
Introduction
In the competitive world of YouTube, first impressions matter. An animated intro can set the tone for your videos, establish your brand identity, and captivate your audience from the very beginning. CapCut, a versatile and user-friendly video editing tool, offers a range of features that make creating stunning animated intros accessible to both beginners and seasoned content creators. This comprehensive guide will walk you through the process of creating animated intros for YouTube using CapCut, ensuring your channel stands out with professional-quality visuals.
Why Animated Intros Matter
Animated intros serve multiple purposes for your YouTube channel. They:
- Enhance Brand Identity: Consistent intros help establish your brand’s visual identity, making your content more recognizable.
- Engage Viewers: A well-crafted intro can grab viewers’ attention, encouraging them to watch your videos.
- Professionalism: High-quality intros convey a sense of professionalism, increasing viewers’ trust in your content.
- Set the Tone: The style and animation of your intro can set the mood for the content that follows.
Getting Started with CapCut
Download and Install CapCut
Begin by downloading CapCut from the official website or your device’s app store. CapCut is available for both mobile devices and desktop computers, allowing you to choose the platform that best fits your workflow. Install the application following the on-screen instructions.
Familiarize with the Interface
Once installed, take some time to explore CapCut’s interface. Familiarize yourself with the timeline, media library, editing tools, and preview window. Understanding the layout will streamline the process of creating your animated intro.
Step-by-Step Guide to Creating Animated Intros
Importing Assets
Gather all the necessary assets for your intro, including logos, images, music, and any pre-designed animations. Import these assets into CapCut by clicking the Import button and selecting the files from your computer or mobile device.
Designing the Intro Layout
Start by setting the resolution and aspect ratio suitable for YouTube, typically 1920×1080 pixels. Drag and drop your logo or main graphic onto the timeline. Arrange the elements to create a balanced and visually appealing layout.
Adding Animations and Effects
CapCut offers a variety of animation presets and effects that can bring your intro to life. Select the element you wish to animate, click on the Animation tab, and choose from In or Out animations. Customize the duration and style to match your brand’s aesthetic.
Incorporating Text and Logos
Add text to your intro by selecting the Text tool. Choose fonts that align with your brand’s identity and ensure readability. Position the text strategically within the frame, and apply animations if desired. Similarly, place your logo prominently to reinforce brand recognition.
Adding Music and Sound Effects
Background music and sound effects enhance the overall impact of your intro. Import royalty-free music or use CapCut’s built-in audio library. Sync the audio with the visual elements, ensuring the beats align with the animations for a cohesive experience.
Previewing and Adjusting
Regularly preview your intro to assess the flow and timing of animations, text, and audio. Make necessary adjustments to ensure each element transitions smoothly and maintains viewer engagement.
Exporting Your Animated Intro
Once satisfied with your animated intro, export the project. Click on the Export button, select the appropriate resolution and format (typically MP4 for YouTube), and initiate the export process. Save the file to a designated folder, ready for integration into your YouTube videos.
Tips for Creating Effective Intros
- Keep It Short: Aim for an intro length of 5-10 seconds to maintain viewer interest.
- Consistent Branding: Use your brand’s color scheme, fonts, and logo consistently across all intros.
- Simplicity is Key: Avoid cluttering the intro with too many elements; focus on essential components.
- Quality Audio: Choose clear and high-quality audio that complements the visual elements.
- Responsive Design: Ensure your intro looks good on various devices, including smartphones and tablets.
Common Mistakes to Avoid
- Overcomplicating Animations: Excessive animations can distract viewers; opt for simplicity and elegance.
- Ignoring Branding: An intro that doesn’t reflect your brand can weaken your channel’s identity.
- Long Duration: Lengthy intros can lead to viewer drop-off; keep them concise.
- Poor Audio Sync: Ensure that audio elements are well-synced with visual transitions to avoid disjointedness.
- Low-Quality Assets: Use high-resolution images and clear audio to maintain a professional appearance.
Conclusion
Creating an animated intro for your YouTube channel using CapCut is a straightforward process that can significantly enhance your content’s appeal and professionalism. By following this step-by-step guide, you can craft intros that not only capture your audience’s attention but also reinforce your brand identity. Remember to keep your intros concise, visually engaging, and aligned with your channel’s theme. With practice and creativity, your animated intros will become a memorable hallmark of your YouTube presence.

